
The old set has made the rounds through the house... the chest was eventually put into my daughter's bedroom closet for her to use and this dresser (minus the mirror) was put into my craft/sewing room and
It became scratched on the top and just started looking icky over the years. I've wanted to paint something for a long time and decided to start with this. We were going to give it away when our house finally sells, so I figured I had nothing to lose if I ruined it.
 |
| Before photo of dresser. I had already removed a drawer to start sanding by the time I remembered to take a before photo. |
Using my new sander, I sanded off all the shiny areas and a couple of rough spots and then hauled it all back into the basement to start priming and then painting.
I used Kilz Premium water base primer and Rust-Oleum Painter's Touch black paint in semi-gloss.


Never having done something like this before, and even though I read many sites on how to do it, I still wasn't sure how much primer to use. I used a foam brush to apply it, but looking back, next time I will use a roller.
 |
| Fake brass removed, sanded and primed. The fake brass was pushed into the dresser and you can see where the slits were made to hold it into place. |
 |
| Drawers are primed |
I found 1" wood trim at Menards with a pretty design in it, but each 7' or 8' piece was $11 and I needed three of them. Hubby found this trim which is wood wrapped with a veneer for $2.49 each. The thinner size actually worked better and the price was right, so instead of buying the real wood trim I had planned on painting to match the dresser, I went with this stuff instead.
 |
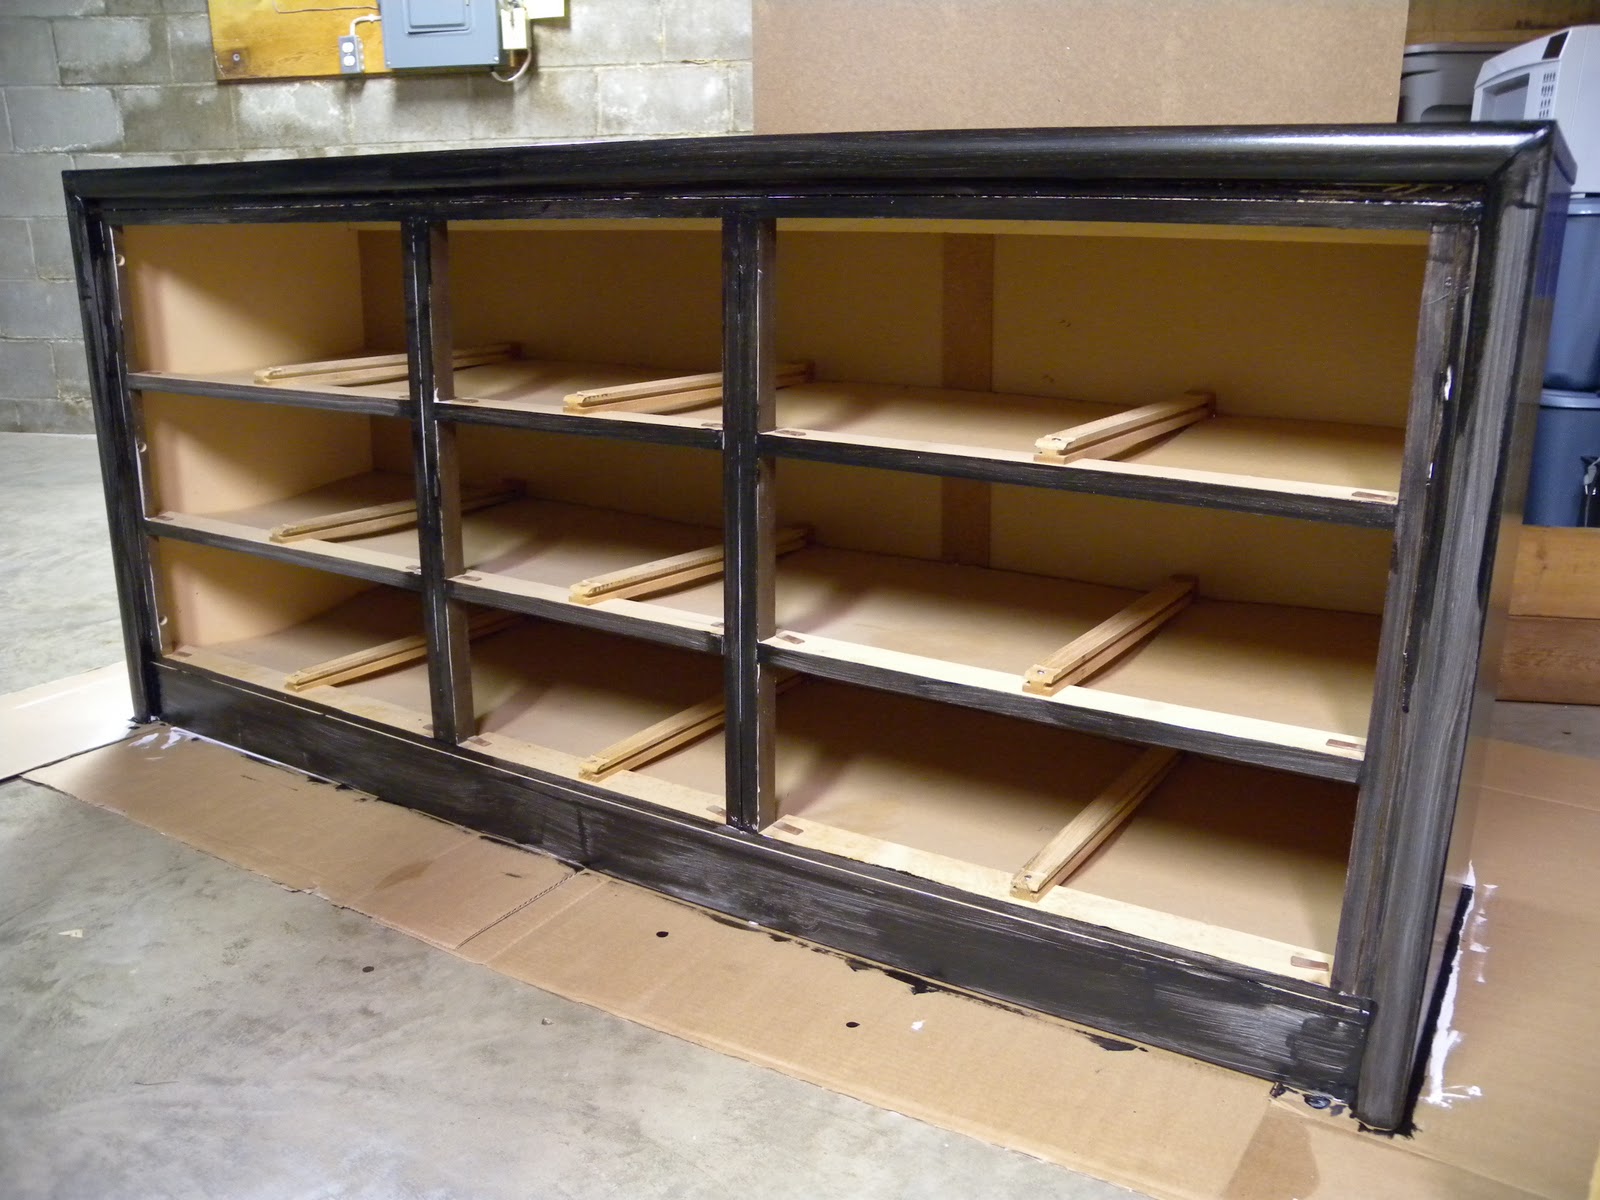
| Primed top of dresser and veneer replacements for fake brass |
 |
| A photo of the veener strip on top and underneath |
 |
| First coat of black |
 |
| First coat of black paint |
 |
| Top of dresser after first coat of black paint |
I ended up doing three additional coats of paint with the rollers. By the 2nd coat, it was really starting to look pretty good.
 |
| Second coat of black paint with a roller |
 |
| Second coat of black paint using the roller |
Using the removed fake brass pieces as a guide, I measured the wood strips and cut them. The veneer wanted to spliter on me, so I took a razor blade and positioned it at the cut and then using a hammer, gently hammered through and got perfectly clean cuts. I then applied those to the dresser using wood glue.
Hauled the dresser back into the finished area of the basement and put the drawers back in and it's done!
I'm pretty happy with the results. Not sure where we're going to put it yet, but most likely at the guest house in the bonus room. I can picture it against the large wall with a couple of lamps on it and the drawers can be used for storage.
I'm also going to go back to the store and buy drawer pulls for each drawer. The solid black front needs something added.
 |
| Finished! |
 |
| Another finished view |
Before and after:
|
|
Thanks for visiting!

I will be linking up with:
Saturday Spotlight at Green Door Designs
Amaze Me Monday at Dittle Dattle
Home Sweet Home at The Charm of Home
Debbiedoo's Newbie Party at Debbiedoo's Blogging and Blabbing
Masterpiece Monday at Boogieboard Cottage
Metamorphosis Monday at Between Naps on the Porch
Show off Your Cottage Monday at The House in the Roses
Anything Goes Party at Type A
Power of Paint Party at Domestically Speaking
14 comments:
Carolyn what a good job! As I rolled the pics down, I was saying how's it going to look? It looks marvelous! I love the color blends you've chosen. Truly a work of art! Thanks for sharing. Luv-Loretta
well! I love it! Great job! Oh, the rollers for paint ARE the way to go! I agree.
Fabulous, absolutely fabulous!
Carolyn, what a transformation! Don't you just love being able to renew something that you already have? I'm all about reduced consumerism now.
Have a great day! Jane
VERY NICE!! I really like the paint redo. You have a lovely piece.
Have a God Filled Day
Shirley
hiya , visiting form debbie doo's and am following you , your finished project is gorgeous and great tutorial too , i am going to have a look around your blog now x hope to see you at mine soon
xmaggiex
That sure is sharp looking now. THanks so much for joining my newbie party. Have fun.
What a fabulous transformation! That is gorgeous. Very nice makeover. Thanks for linking up!
Sherry
Found you at "Type A"'s link party. This transformation was beautiful, almost looks impossible. What a gorgeous piece! Wonderful that you had the foresight and bravery to give it a try!
Looks great! Beautiful makeover- the black paint looks great. Thanks for sharing!
WOW gorgeous result! such a big Project! Beautiful!
very cool. it looks so different, huge improvement. thanks for linking this to my party!
You did a great job. It came out lovely.
Much, much better - terrific job!
Kathy
Post a Comment