Showing posts with label painting. Show all posts

Friday, March 25, 2011

Before and After: Dresser Makeover

When I married Hubby, he had a bedroom set made by Bassett that consisted of a dresser with a mirror, a chest and two nightstands. We continued to use the set the first few years of our marriage and when we made the move to Iowa, it was loaded onto the moving van. However, the moving van didn't close the side doors tightly and during the trip from Texas to Iowa in the rain -- the water came in through those doors and ruined one of the nightstands and a few other things near it. The moving company paid us for the damaged furniture and we bought a new set. (I was quite excited when this happened as I did not care for the manly-bachelor set in the first place!)

The old set has made the rounds through the house... the chest was eventually put into my daughter's bedroom closet for her to use and this dresser (minus the mirror) was put into my craft/sewing room and was crammed full of junk neatly held all my crafting, soaping and sewing supplies for the last 20 years.

It became scratched on the top and just started looking icky over the years. I've wanted to paint something for a long time and decided to start with this. We were going to give it away when our house finally sells, so I figured I had nothing to lose if I ruined it.

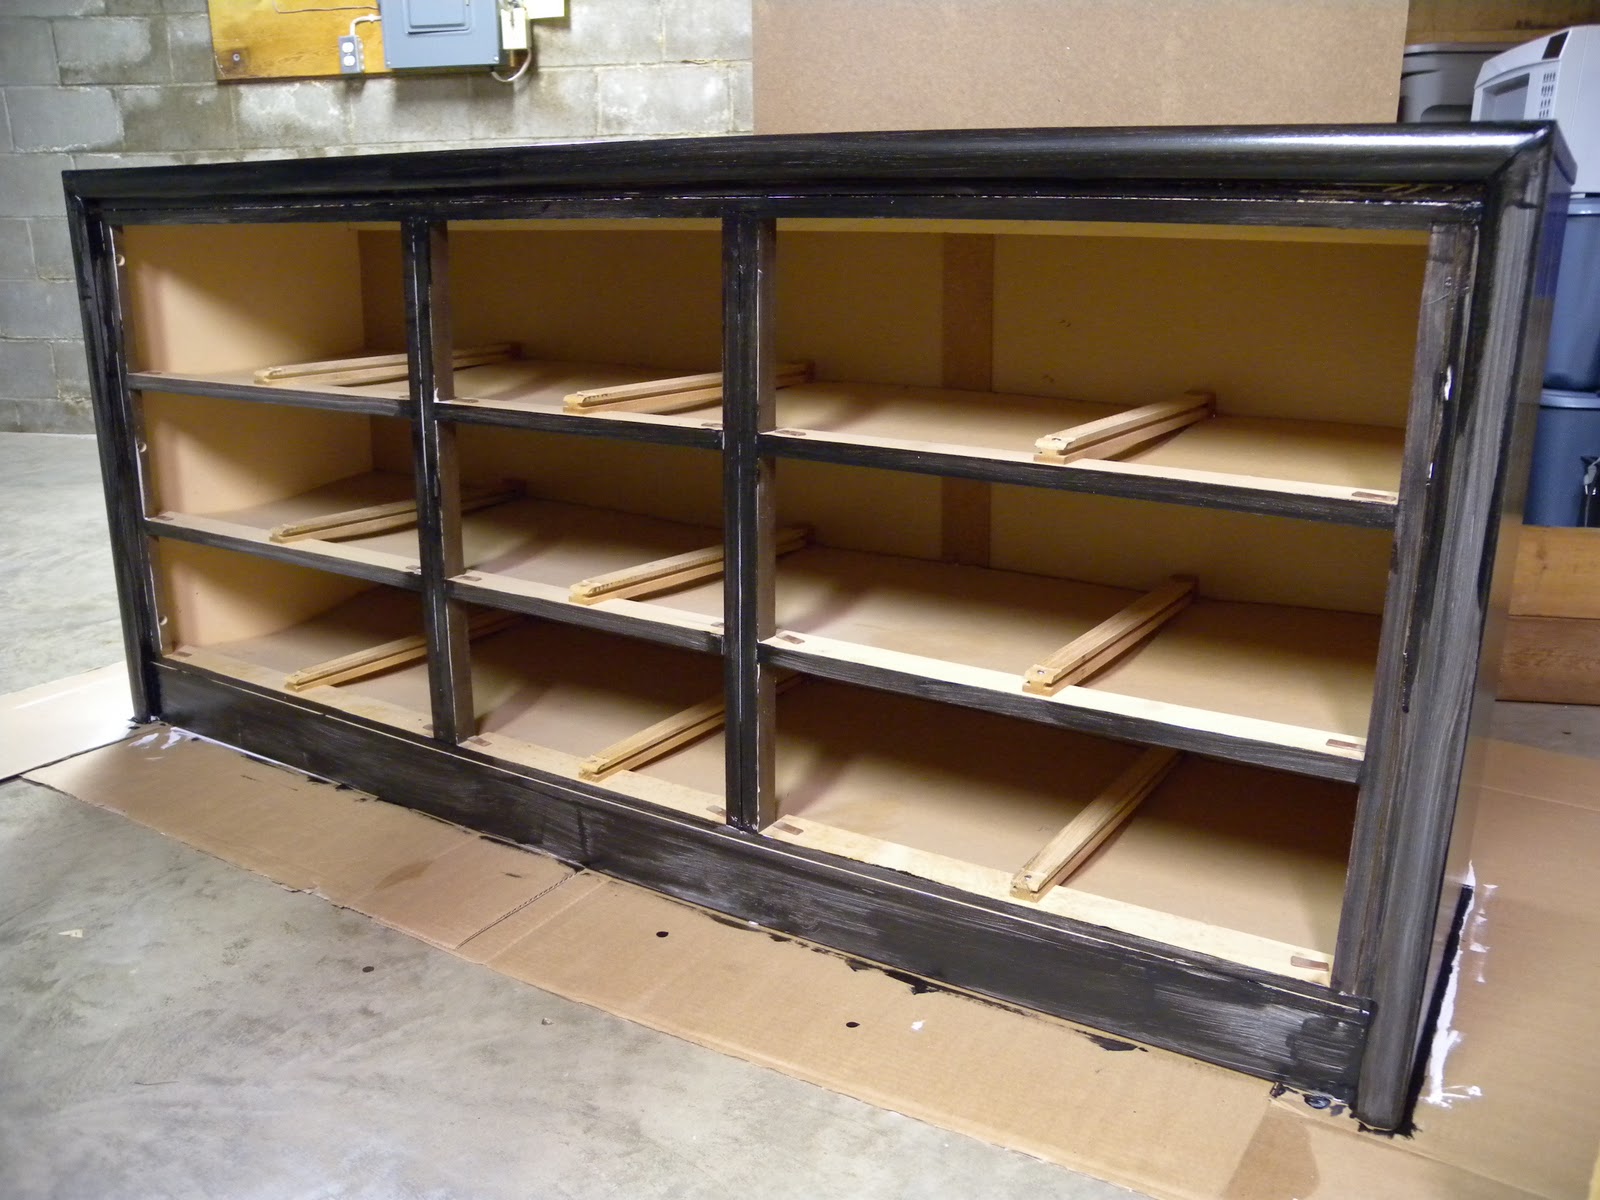
Before photo of dresser. I had already removed a drawer to start sanding by the time I remembered to take a before photo.
 I had to drag the dresser out of my craft room and into the basement area and then carried the entire thing (with Hubby's help) up the stairs, through the house and into our garage. There was a fake brass trim around the drawers that couldn't be painted, so I removed it. It was pushed into slits to hold it into place and I decided to buy new wood trim to replace it. 

Using my new sander, I sanded off all the shiny areas and a couple of rough spots and then hauled it all back into the basement to start priming and then painting.

I used Kilz Premium water base primer and Rust-Oleum Painter's Touch black paint in semi-gloss.


Never having done something like this before, and even though I read many sites on how to do it, I still wasn't sure how much primer to use. I used a foam brush to apply it, but looking back, next time I will use a roller.

Fake brass removed, sanded and primed. The fake brass was pushed into the dresser and you can see where the slits were made to hold it into place.

Drawers are primed

I found 1" wood trim at Menards with a pretty design in it, but each 7' or 8' piece was $11 and I needed three of them. Hubby found this trim which is wood wrapped with a veneer for $2.49 each. The thinner size actually worked better and the price was right, so instead of buying the real wood trim I had planned on painting to match the dresser, I went with this stuff instead.

Primed top of dresser and veneer replacements for fake brass

A photo of the veener strip on top and underneath
After priming all the pieces, I began to paint them. All the directions I read said to use thin coats and so I did. I think I went too thin on the first coat. Also used the foam brush to apply the first coat -- next time I'll use the roller.

First coat of black

First coat of black paint

Top of dresser after first coat of black paint
 Now that I'm feeling much more confident about the whole project, I broke out the rollers. For the rest of the project, I used a 6" foam roller and a 2" or 3" regular roller. I think the regular roller is the way to go next time. Foam one was ok, but the other one just seemed to do a better job.

I ended up doing three additional coats of paint with the rollers. By the 2nd coat, it was really starting to look pretty good.

Second coat of black paint with a roller

Second coat of black paint using the roller

Using the removed fake brass pieces as a guide, I measured the wood strips and cut them. The veneer wanted to spliter on me, so I took a razor blade and positioned it at the cut and then using a hammer, gently hammered through and got perfectly clean cuts. I then applied those to the dresser using wood glue.

Hauled the dresser back into the finished area of the basement and put the drawers back in and it's done!

I'm pretty happy with the results. Not sure where we're going to put it yet, but most likely at the guest house in the bonus room. I can picture it against the large wall with a couple of lamps on it and the drawers can be used for storage.

I'm also going to go back to the store and buy drawer pulls for each drawer. The solid black front needs something added.

Finished!
 
Another finished view


Before and after:
 

Thanks for visiting!


I will be linking up with:
Saturday Spotlight at Green Door Designs
Amaze Me Monday at Dittle Dattle
Home Sweet Home at The Charm of Home
Debbiedoo's Newbie Party at Debbiedoo's Blogging and Blabbing

Masterpiece Monday at Boogieboard Cottage
Metamorphosis Monday at Between Naps on the Porch

Show off Your Cottage Monday at The House in the Roses
Anything Goes Party at Type A
Power of Paint Party at Domestically Speaking

Saturday, March 12, 2011

The Guest House: The Building Process Part II

Here is Part II of our guest house and garage that we began building in 2009. I thought I would have photos of the carpeting installed to post today... but it's still not installed.

Here's hoping Mr. Carpet Layer #2 still comes through for us!


House is wrapped and windows begin to go in.

View of back of house before wrapping and windows.

It was an exciting day when the stairs went in! You can see where small bathroom will be underneath the stairs.

Another shot of stairs taken from the garage door. Shows entire first floor of house.

Bay windows next to kitchen. These really helped define some character to the first floor.
 
More stairs. By now, they have put plastic between the house and garage to keep the heat contained in the house.
  
Electricity is run and recessed lighting installed throughout the house.
 
Electrical inspection was passed and work progresses... the heating and plumbing are going in now.
 
Flooring installed in upstairs bath after partial drywall and tub/shower is moved in.
 
Wall was removed in the bedroom to install the bath/shower into the bathroom.

Insulation in upstairs bonus room.

Another view of insulation. From this angle, the half door to attic storage space is seen along with the upstairs bath and bedroom. Stairs seen in the middle of the photo.

Drywall really changed the feel of the house! The rooms became very defined and actually felt larger than we thought they would.
 
Garages are insulated and drywall went up. Both garages are finished just like the interior of the guest house.

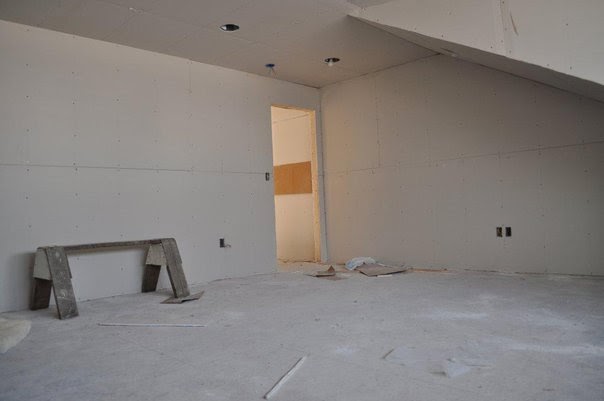
Drywall in upstairs bonus room.

Another shot of bonus room.
 
Upstairs landing. Bathroom straight ahead and bedroom to the left. Linen closet in the hallway and half door to attic on the right.
 
Taping the sheetrock.
 

More taping...

This is the inside of the upstairs attic room. There is a lot of storage room in here!
 
Texturing the walls...
 
Everything is pretty much done and walls are textured. Painting is next!


This is how the garage guest house looked for many months!


I will post Part III : The painting and exterior finishing later this week!


Thanks for visiting!


I am linking to:
 

Debbiedoo's Newbie Party at Debbiedoo's Blogging and Blabbing
Masterpiece Monday at Boogieboard Cottage
Metamorphis Monday
at Between Naps on the Porch
Show Off Your Cottage Monday
at The House in the Roses
Related Posts Plugin for WordPress, Blogger...