Saturday, March 26, 2011

Cake Pops!

I am going to visit my daughter at her college tomorrow. I wanted to bring her something fun and exciting and really cool and most of all -- homemade.

Now, I know how to do homemade. I am very good at homemade. I have been known to stay up all night long to finish a cake made from scratch because I am so dedicated (ok, ok, usually it's because I start things at 10 pm).

Instead of making one of the many goodies that I can whip out with my eyes closed, I decided to make something new. Something really cute, really delicious, decorated with finesse and packaged beautifully. I decided to make the little Cake Pops that has made Bakerella (aka Angie) famous!

I bought Angie's book the moment she announced it on her blog last year. I've been planning on making these for a long time and bought all the stuff to do it with.

My design: A Jackrabbit. Why? The college athletics mascot is a Jackrabbit. No, really. It is.

Using this photo as a guide, I was going to make my Jackrabbit pops in blue and gold and they were going to look tough -- yet cute. Jackrabbits can look tough. No really. They can.


Cake pops are easy. Make a box cake, let it cool, crumble it up, mix it with frosting, dip it in melted candy coating and decorate. Easy, easy, easy.

Or so I thought.

Without going into all the nasty details, let me just sum it up by stating the obvious: candy melts are the absolute worst thing in the world to work with.

I was hoping to be showing you amazing cake pops in the next photos. But, I'm all about keeping it real.

So....... whaddya think?? Resemble a Jackrabbit to you?? Resemble a cake pop???

First Batch

Second Batch

I gave up on the Jackrabbit idea and went for desperate swirl instead.

Well, the good thing is that they do taste great. Hubby loves them. I am still going to bring them to my daughter -- even though they aren't cute and adorable.

I call them Cake Blobs.


Thanks for visiting!

Friday, March 25, 2011

Before and After: Dresser Makeover

When I married Hubby, he had a bedroom set made by Bassett that consisted of a dresser with a mirror, a chest and two nightstands. We continued to use the set the first few years of our marriage and when we made the move to Iowa, it was loaded onto the moving van. However, the moving van didn't close the side doors tightly and during the trip from Texas to Iowa in the rain -- the water came in through those doors and ruined one of the nightstands and a few other things near it. The moving company paid us for the damaged furniture and we bought a new set. (I was quite excited when this happened as I did not care for the manly-bachelor set in the first place!)

The old set has made the rounds through the house... the chest was eventually put into my daughter's bedroom closet for her to use and this dresser (minus the mirror) was put into my craft/sewing room and was crammed full of junk neatly held all my crafting, soaping and sewing supplies for the last 20 years.

It became scratched on the top and just started looking icky over the years. I've wanted to paint something for a long time and decided to start with this. We were going to give it away when our house finally sells, so I figured I had nothing to lose if I ruined it.

Before photo of dresser. I had already removed a drawer to start sanding by the time I remembered to take a before photo.
 I had to drag the dresser out of my craft room and into the basement area and then carried the entire thing (with Hubby's help) up the stairs, through the house and into our garage. There was a fake brass trim around the drawers that couldn't be painted, so I removed it. It was pushed into slits to hold it into place and I decided to buy new wood trim to replace it. 

Using my new sander, I sanded off all the shiny areas and a couple of rough spots and then hauled it all back into the basement to start priming and then painting.

I used Kilz Premium water base primer and Rust-Oleum Painter's Touch black paint in semi-gloss.


Never having done something like this before, and even though I read many sites on how to do it, I still wasn't sure how much primer to use. I used a foam brush to apply it, but looking back, next time I will use a roller.

Fake brass removed, sanded and primed. The fake brass was pushed into the dresser and you can see where the slits were made to hold it into place.

Drawers are primed

I found 1" wood trim at Menards with a pretty design in it, but each 7' or 8' piece was $11 and I needed three of them. Hubby found this trim which is wood wrapped with a veneer for $2.49 each. The thinner size actually worked better and the price was right, so instead of buying the real wood trim I had planned on painting to match the dresser, I went with this stuff instead.

Primed top of dresser and veneer replacements for fake brass

A photo of the veener strip on top and underneath
After priming all the pieces, I began to paint them. All the directions I read said to use thin coats and so I did. I think I went too thin on the first coat. Also used the foam brush to apply the first coat -- next time I'll use the roller.

First coat of black

First coat of black paint

Top of dresser after first coat of black paint
 Now that I'm feeling much more confident about the whole project, I broke out the rollers. For the rest of the project, I used a 6" foam roller and a 2" or 3" regular roller. I think the regular roller is the way to go next time. Foam one was ok, but the other one just seemed to do a better job.

I ended up doing three additional coats of paint with the rollers. By the 2nd coat, it was really starting to look pretty good.

Second coat of black paint with a roller

Second coat of black paint using the roller

Using the removed fake brass pieces as a guide, I measured the wood strips and cut them. The veneer wanted to spliter on me, so I took a razor blade and positioned it at the cut and then using a hammer, gently hammered through and got perfectly clean cuts. I then applied those to the dresser using wood glue.

Hauled the dresser back into the finished area of the basement and put the drawers back in and it's done!

I'm pretty happy with the results. Not sure where we're going to put it yet, but most likely at the guest house in the bonus room. I can picture it against the large wall with a couple of lamps on it and the drawers can be used for storage.

I'm also going to go back to the store and buy drawer pulls for each drawer. The solid black front needs something added.

Finished!
 
Another finished view


Before and after:
 

Thanks for visiting!


I will be linking up with:
Saturday Spotlight at Green Door Designs
Amaze Me Monday at Dittle Dattle
Home Sweet Home at The Charm of Home
Debbiedoo's Newbie Party at Debbiedoo's Blogging and Blabbing

Masterpiece Monday at Boogieboard Cottage
Metamorphosis Monday at Between Naps on the Porch

Show off Your Cottage Monday at The House in the Roses
Anything Goes Party at Type A
Power of Paint Party at Domestically Speaking

Tuesday, March 22, 2011

I'm melting, melting! Oh, what a world, what a world...

March always brings the Melting Of The Ice at the lake. It is an event. Each day we watch as the ice becomes darker and darker and finally just disappears and the lake becomes water again.

A few weeks ago our neighbors were out on a beautiful day and built a snowman. Actually I think it was a snowwoman. By the time they were finished, it resembled more of a woman. She melted quickly with the warm days to follow. 

About 3 weeks ago

I'd say this was definitely a snowwoman
Snow lady became a blob in a few days
The ice was still very solid and there were plenty of vehicles driving on it along with a multitude of ice fishing houses. The past couple of weeks has brought warmer weather and a huge snow melt. 

As the ice becomes thinner, it also becomes darker. Just before it disappears, it is a dark dark grey, almost black color.

Same view on Saturday, March 19, 2011 : snow is gone and ice is getting darker

  Looking towards the east at the dark ice.
A little bit of water is at the edge near the rocks.
 

View from our patio on the lake. Can't wait to sit by the water again!

My guess is the ice will melt by March 27th.

A tribute to one of my favorite scenes from one of my favorite movies -- the ol' Wicked Witch of the West as she melts away...

I'm melting, melting! Oh, what a world, what a world...

Thanks for visiting!

Walking on the Wild Side

I know... I know... you'll all scoff at me and say "that's your 'wild side?' hahahahahaha!"

As much as I love to create things and I can spend every waking moment sewing a quilt or making soap, I have rarely (maybe never?) changed anything!

So call me wild........ 

(Drum roll here......................................)

I spray painted a mirror!!!     woohoo!


Ok, technically it was the frame of a mirror.

My
first experience with spray paint! I used Rust-Oleum MultiColor Textured Spray in Carribean Sand.


(Yes, I forgot to take a "before" photo. I am working on remembering to do that. Picture this with an ugly, fake plastic oak wood frame and hanging on the wall in the bathroom above the toilet. I picked this item to start with because if I messed it up, it wouldn't be a loss of something nice.)

I thought I did everything perfectly like covering up the mirror with paper and tape ... spraying it evenly with a few light coats of spray paint ... letting it dry the recommended amount of time. However, when I hung up my newly repainted mirror, I discovered the back of the brown frame was reflected in the mirror!

Bummer.

I do not like to make mistakes because I do not like to correct mistakes. But I knew my obsessive-compulsiveness for perfection would kick in every time I looked at this mirror and I would never be happy with it.

So I removed the backing, removed the mirror and spray painted the back of the frame and let it dry. Put it all back together and re-hung it in its original spot.

I'm so thrilled with it! I even had to pour a glass of wine and then sit on the edge of my bathtub for half an hour just to stare at it.

My first spray paint project was a success. Most importantly, I learned I can change something and be happy with it.

I bought a dozen more cans of spray paint at Walmart this weekend... oh yeah.

Thanks for visiting!!

Saturday, March 19, 2011

Garage Graduation Party

My daughter graduated from high school in May 2010 and we had a graduation party for her! While planning the party and looking at various ideas online, the majority of them that I found (and all the good ones) were in blog posts!

This past week, I have received a couple of phone calls from friends who have children graduating this May -- they were inquiring about some of the things we did for our party. So I thought this might be a fun blog post in case anybody is ever searching for ideas.

I am putting in a lot of the details, so it is a bit wordy but I remember when I was searching for ideas, how much I appreciated those very informative posts!


In the area where we live, each graduate (from every high school in every town!) has their very own party, usually an "open house" style and it is held for approximately 2-5 hours. Graduation is held on Sunday afternoon and the parties are held all over town. They are held on the weekend beginning Friday and occur at all hours -- in the morning, late morning, early afternoon, late afternoon and evening. Invitations are sent out and friends, relatives and families go "party hopping" from one to the next.

So, last year was finally our turn. I had been kinda sorta planning it my head for about a year or two after scoping out the parties I attended the previous two years. Then a few months ahead of time, K and I started to seriously plan it. Since it was her party, I wanted her to decide what we were doing. I had 'big' ideas -- and she wanted simple and understated. I wanted to hold it inside the house (late May can bring some crazy weather) and she wanted it in the garage. The garage?! Ick! That thought had not occurred to me, but she explained that she preferred garage parties because they are "open" and "easy to approach" and nice and casual. Ok, garage it was!

We decided to hold ours on Friday from 5 - 8 pm. Since the majority of them are held on Saturday and Sunday, we thought it would be nice to hold K's a little early so she could attend the other parties for her classmates over the weekend.

First things first: clean out the garage. Because our home is for sale, some of this cleaning/purging had already been done. I've never had the pleasure of parking my car in the garage because Hubby is very particular about his garage and for a long time, we kept a couple of older 'collectible' cars in the garage. The garage had many items hanging on the walls like personalized license plates from previous years and some cool lights and quite a bit of Harley-Davidson stuff. I don't have any photos of what it used to look like before all that was taken down, but here are some exciting shots of how it appeared before I started getting it ready. As you can see, hubby no longer was as picky about it as he had the garage at the new house by now.


Lucky for me, we also have a large barn on our acreage, so most of the clutter was moved over there to get it out of the way. I was saving boxes to use as I packed up household belongings from the house for sale to move to the new one.

I cleaned that garage floor at least a half dozen times! By the time I was done with it, you could eat off of it.

K planned her menu: Roast beef sandwiches, a pasta salad, individual bags of chips, strawberry shortcake and punch were her priorities. She didn't want the traditional decorated cake with frosting (which is my favorite -- but I ate plenty of cake at all the other graduation parties!).

I work for a community college with an amazing food service department and that is who I approached to make all the food for us. They did a fantastic job! I gave them the menu, date and time and the approximate amount of guests we expected and they did all the rest. All I had to do was pick it up earlier in the day and serve it at party time!

We had a "candy buffet" at the party. While reading other blogs, I saw some beautiful candy buffets at weddings and loved the idea! I thought of having candy in jars in the blue and green colors that K had picked for her party but then decided to only put out wrapped candy. A garage setting just didn't seem appropriate for using scoops in glass bowls and apothecary jars.

So the key for the candy to grace our candy buffet was it had to be wrapped and colorful. I picked up 100 small-sized paper bags in black and gold (school colors) and found stickers that said "Class of 2010" and stuck those to each bag.

Just before the party started, we opened the garage doors. Tables against wall are two card tables holding the dessert and punch.
Food tables are below the "Happy Graduation" sign. White table held plates and utensils. Blue table held all the food. Green bowl in corner for bags of chips. Displays of photos on wall.
Placemats lined up on table to make runners. Flower pots holding flowers and photos.
K's display table with her awards, trophies and accomplishments.
(We added balloons to the basket on left to hide wall heater.)
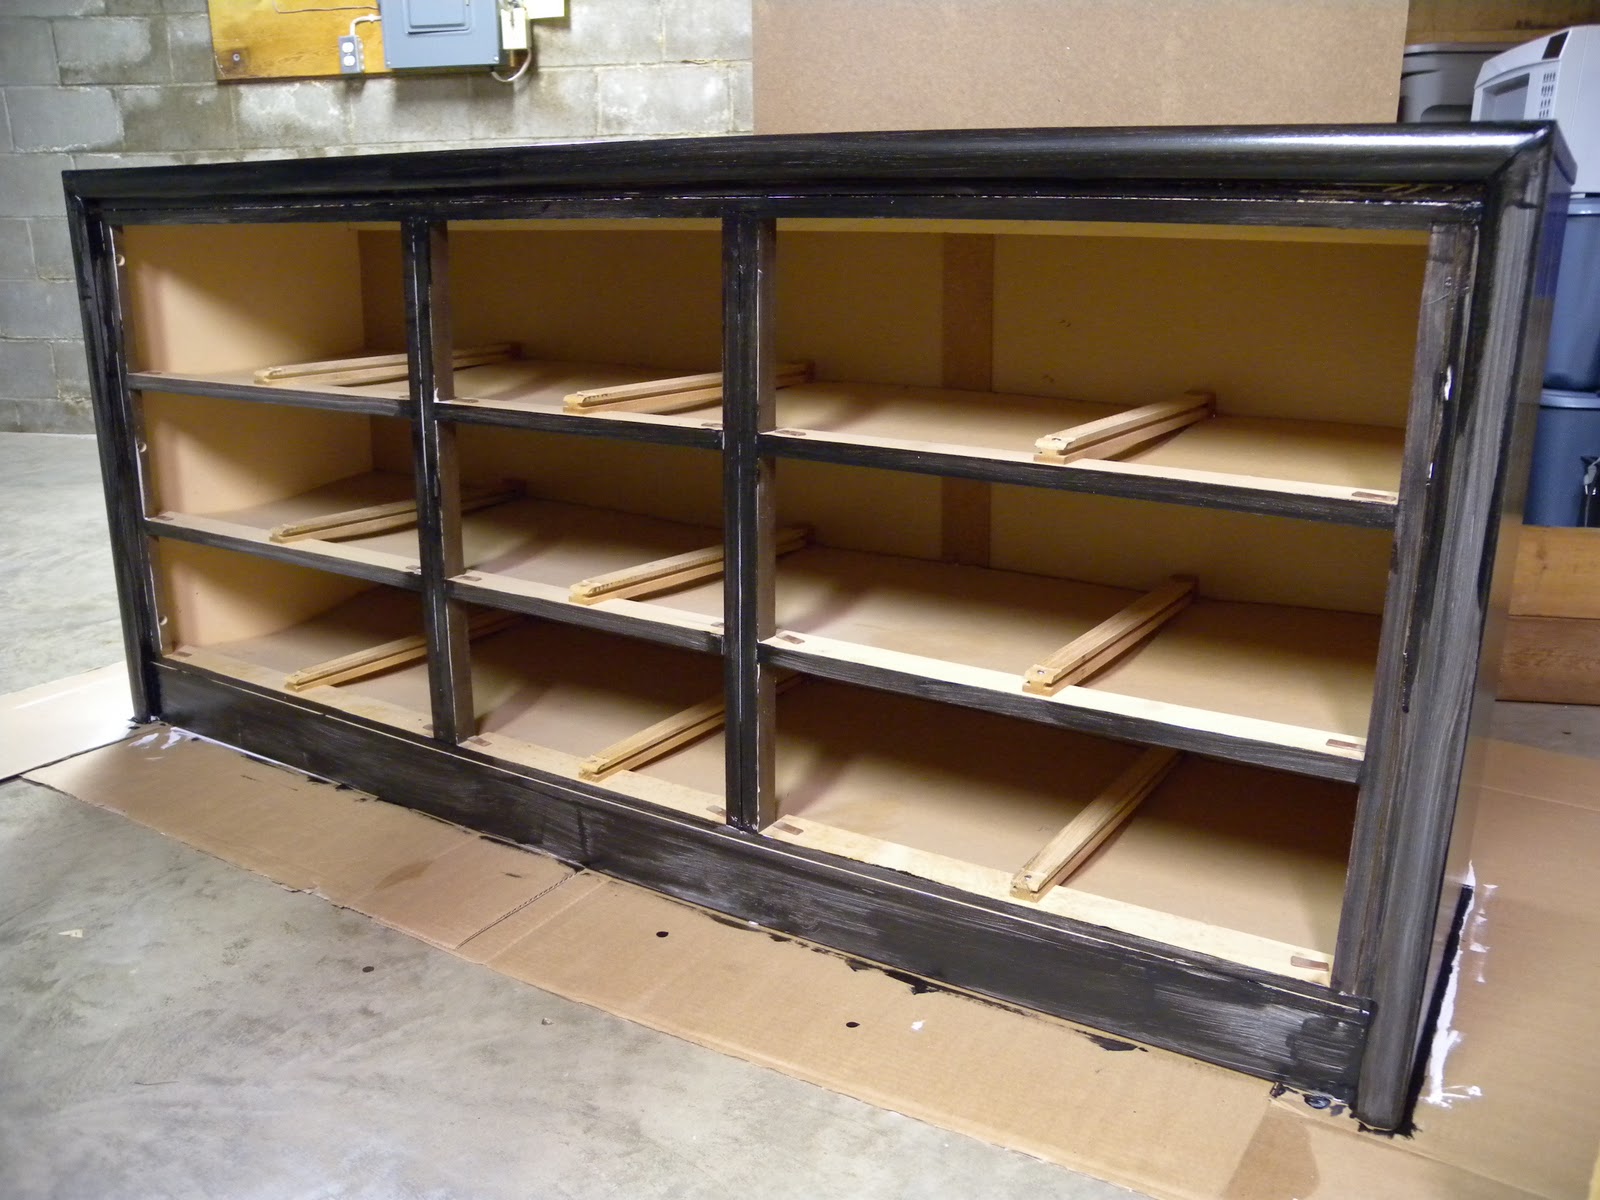
Candy Buffet. Black and gold bags to hold candy on the shelf. Candy was held in a various assortment of containers.
Table at entrance held a guest book and graduation photos. Wallet sized graduation photos to take and a basket to hold congratulatory cards. The display above was a photo from each year of her life, including all the school photos.

I also made some personalized candy using Hershey's nuggets wrapped with tiny labels that had K's photo, the name of the high school and graduation year on it. Again, I saw these in photos of a wedding on another blog and googled the directions and made my own template. They print onto a sheet of address labels which wrap perfectly around the candy.

The candy buffet was a huge hit! The parents who have called me this week were asking specifically about this aspect of our party and the personalized chocolates.

(This photo is not mine but one I found on google last year when I was searching for personalized graduation ideas. This became my inspiration and our candies looked very much like this):


Beginning in January of 2010, I began to search for decorations and items that were blue and green. I managed to find everything I needed in our town and the surrounding towns and everything was very inexpensive. I picked up plastic table coverings in blue and green and found some plastic planters for the tables. While in Walmart one day, I came across some woven placemats in the exact colors and bought a dozen of them at 99 cents each! I put four of them together on each table to look like a runner and put the others on the tables holding the food. I picked up blue and green plastic serving bowls to hold items such as individual bags of chips and some of the candy. The paper plates and napkins were blue and green as well.

For wall displays, I printed out dozens of photos of K growing up and of her many school activities. I tried to get as many of her classmates in the photos as well. Using clear photo corners, I put the photos onto heavy black poster boards. We were able to attach each poster board to the walls using thumbtacks.

A week earlier, I picked up Gerbera Daisies in bright colors at the local nursery. They also gave me the little plastic picks that hold the cards. The daisies were put into the blue and green pots and set on the tables. I used the picks to put some of K's wallet-sized graduation photos back to back and stuck them in the flowers.

We had a handful of tables I was able to use for the food and dessert table. I borrowed a couple of friends, too. For the seating inside the garage, I was able to borrow two tables and some wooden chairs from friends who used to own a restaurant and they kept these for family gatherings.

The tables were covered with heavy, plastic lined tablecloths I purchased from the college. I picked up a few extras in case they became soiled and needed to be changed out during the party.

K used a small area in the garage for her awards, trophies and other accomplishments from high school.

About a week ahead of time, I was ready to roll! Garage was set up and decorated for the most part. We added the tablecloths and flowers that morning. Our back deck was also used and more flowers were placed outside. 

When the day arrived, it rained in the morning! I did have a back-up plan to move everything into the house if needed. But by early afternoon, it cleared up, the wind died down and by 2 p.m., it was gorgeous outside! As a matter of fact, the wind had stopped completely. We turned on the fans to keep the food cool and clear of any bugs that might find their way inside and eventually had to put one outside as the gnats decided to crash the party outside. It is a very rare occasion in Iowa that we actually have to create our own breeze!

At 4:45, we opened the garage doors. Party started at 5 p.m. and almost immediately, cars started to roll onto our property. The next 3 hours flew by and we had so much fun!

Trying to figure out how much food we needed was the biggest dilemma. Because we were having our party on a Friday evening and only 2 or 3 other parties were also being held at that time, I thought we may get a larger crowd. But if the weather was bad, we could have a smaller crowd. We finally decide to plan on enough food for 150 people. I would much rather have too much food than not enough.

We ended up with about 225 people that evening! And I had almost exactly 1/3 of the food left. The strawberry shortcake was almost gone and we did run out of strawberries at the very end.

I wish I had taken more photos of everything before the party started. We gave my camera to a friend who was helping us out and he took many, many photos but none of the food, etc.

Overall, I think we planned it well and stayed within our budget and everybody had a great time!

Thanks for visiting my blog!


I will be linking up with:

Seasonal Sundays at The Tablescaper
Home Sweet Home at The Charm of Home
Metamorphosis Monday at Between Naps on the Porch
Amaze Me Monday at Dittle Dattle
Tabletop Tuesday at A Stroll Thru Life

Wednesday, March 16, 2011

Take a few moments each day...


Yokota Air Force Base in Japan was our home for three years while I was in high school in the late 70's. My father was stationed there and I have so many wonderful memories of the country and the people. A few of my high school friends returned and now live in Japan. Most of them are in or near Tokyo and a few of them have families in the areas that are more affected by the tsunami. Each morning the first thing I do is check my Facebook page to read any new updates from those friends.

I pray for the people and country of Japan.

Tuesday, March 15, 2011

I'm going to make a fool out of myself

After reading about all the amazing "before and after" projects I've seen on other blogs the past couple of years, I have been looking around my own house and thinking of all the totally cool stuff I could do. I have an old bedroom set... wood shelves... a wood cabinet my father made back in the 60's... and much more. I just love projects and am always trying to think of something creative to do! Hubby laughs at me because my favorite magazine is Handy Man.

All the projects I want to do lately require sanding the wood first. I've never sanded a thing in my life. But, my father was an expert hobby woodworker and carpenter and I just know I inherited some of that talent.

So I pulled a drawer off the old dresser and took it out to the garge. Found some sandpaper in Hubby's toolbox and happily started sanding away!

About 40 minutes later (along with a couple of blisters and a broken nail -- not to mention all the sawdust in my eyes and on my clothes and shoes) and my dresser drawer really doesn't look all that sanded. It actually looks exactly the same. Except now it has a bunch of scratches all over it. Wow. I worked very hard at that. I'm obviously a failure at sanding things. I did not inherit the cool woodworking gene from my dad after all.

This is how I felt:


I was so bummed out. I had such huge plans pictured in my mind of all the beautiful things I could create out of all the old stuff. But as a sanding failure, I wouldn't be able to do anything now...

......

......

.....


But then ... a surprise ... ...

Whoa!!! Just look at what my sweet Hubby bought me!!


An electric hand sander ... sanding ... thingie! It arrives tomorrow! Oh my gosh, I can't WAIT to sand something!

(!!! happy dance !!!)

My hopes and dreams have been restored! I'm going to be a sanding fool! You are all going to read about the most awesome and incredible "before and after" projects on my blog one day.


Thanks for visiting!

Related Posts Plugin for WordPress, Blogger...